Amazonite Quartzite Effect Kit Kitchen top/worktop with epoxy resin
0.00 ₼
| Kit Type |
Extra Large (Kitchen with Island) ,Grande (Grande Cucina) ,Medium (Small Kitchen) ,Small (Bathroom Countertop) |
|---|---|
| Grammage |
16.66kg ,2.49kg ,4.15kg ,8.33kg |
Description
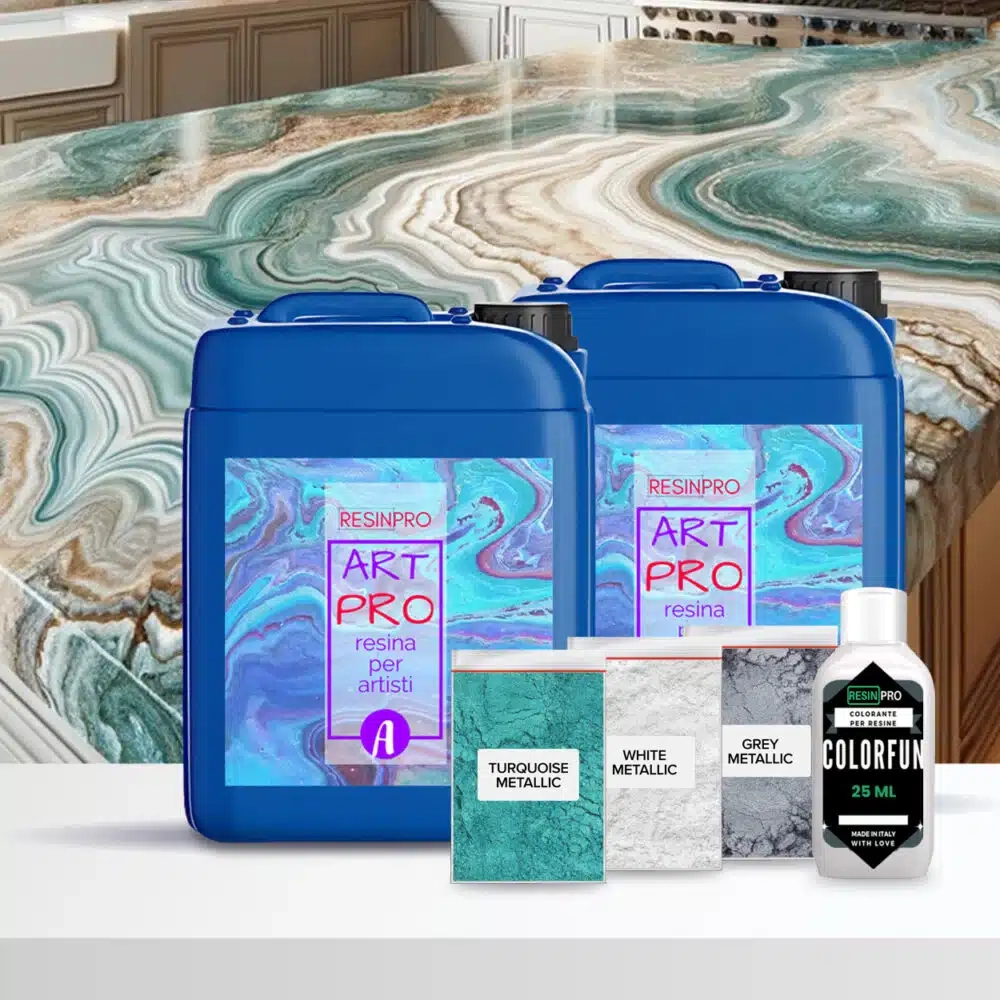
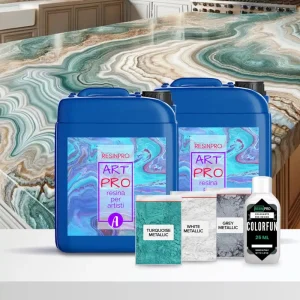
Kit include:
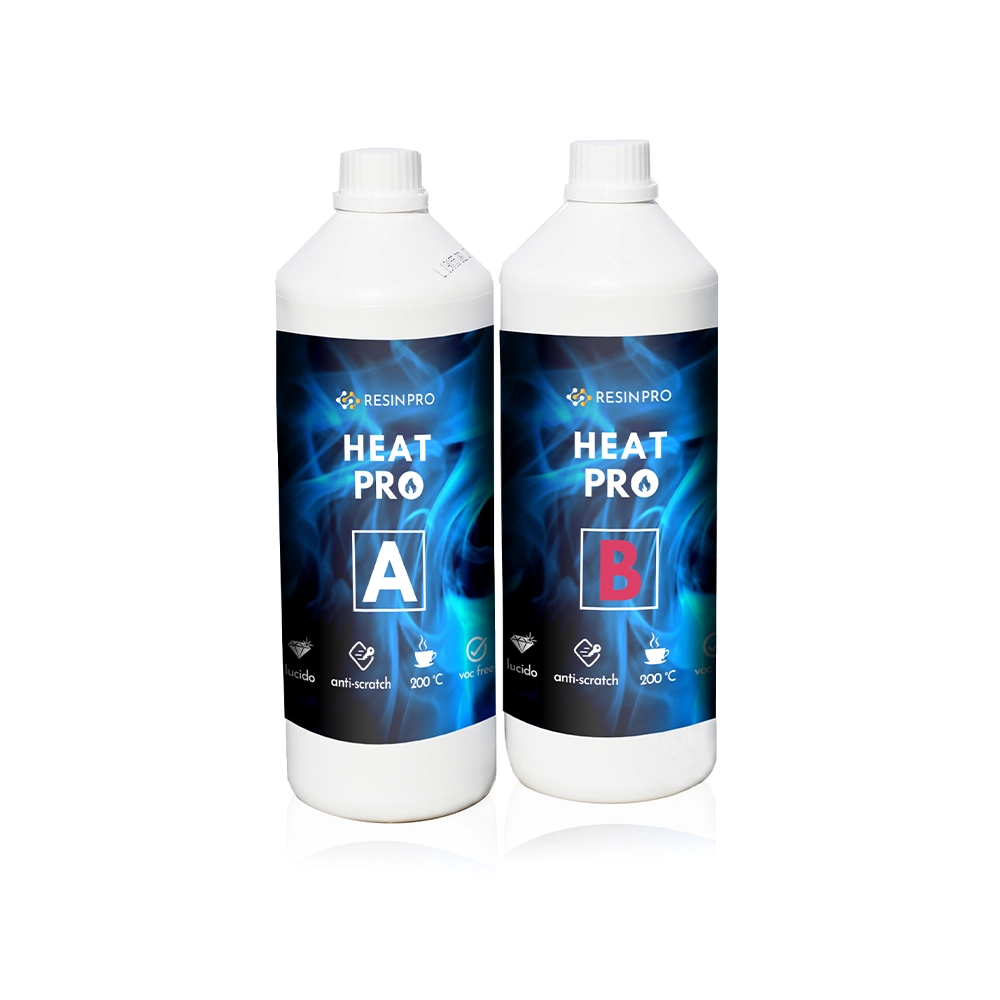
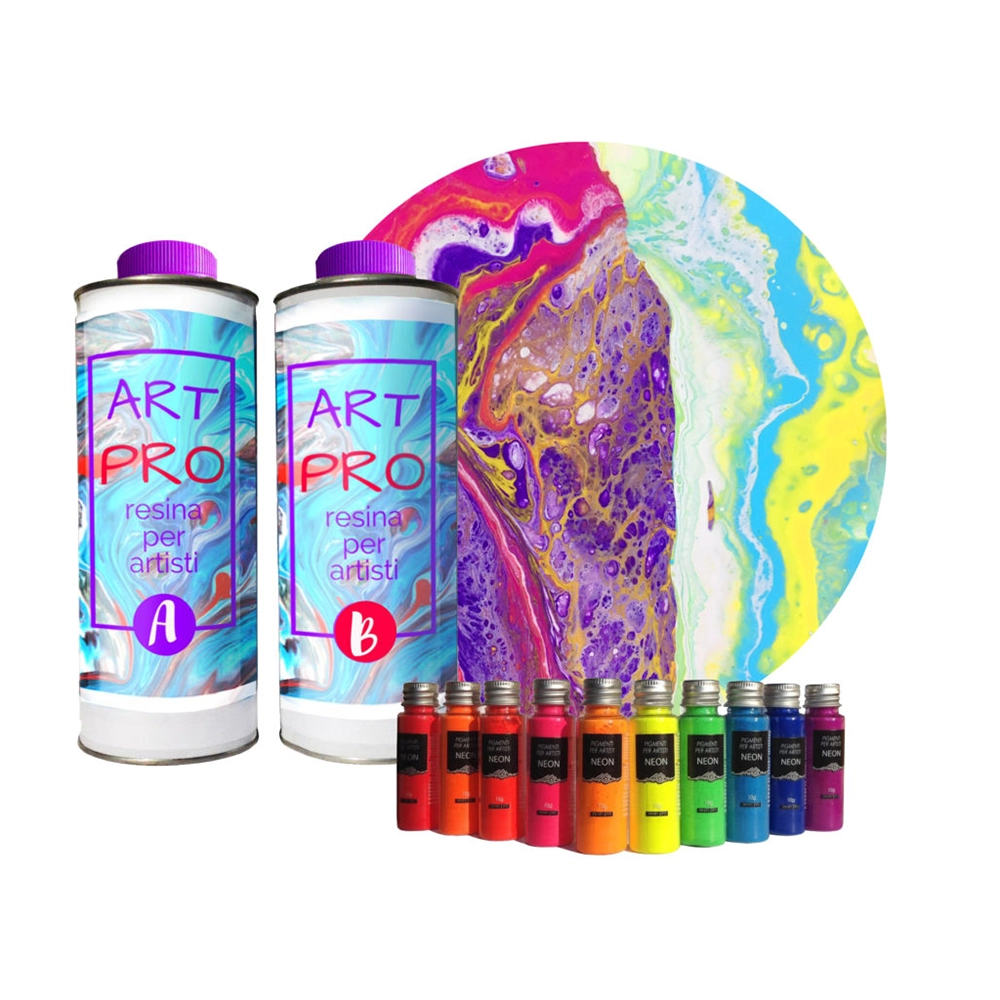
- Art pro epoxy resin,
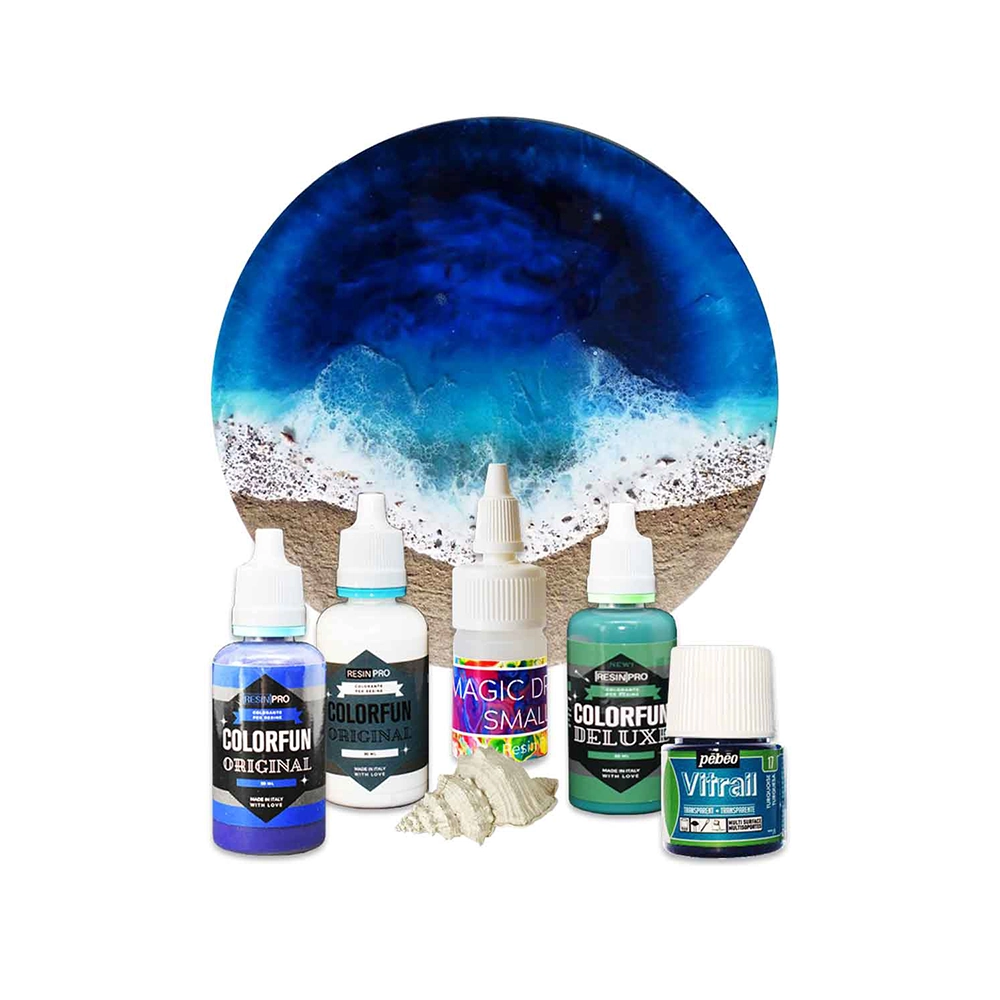
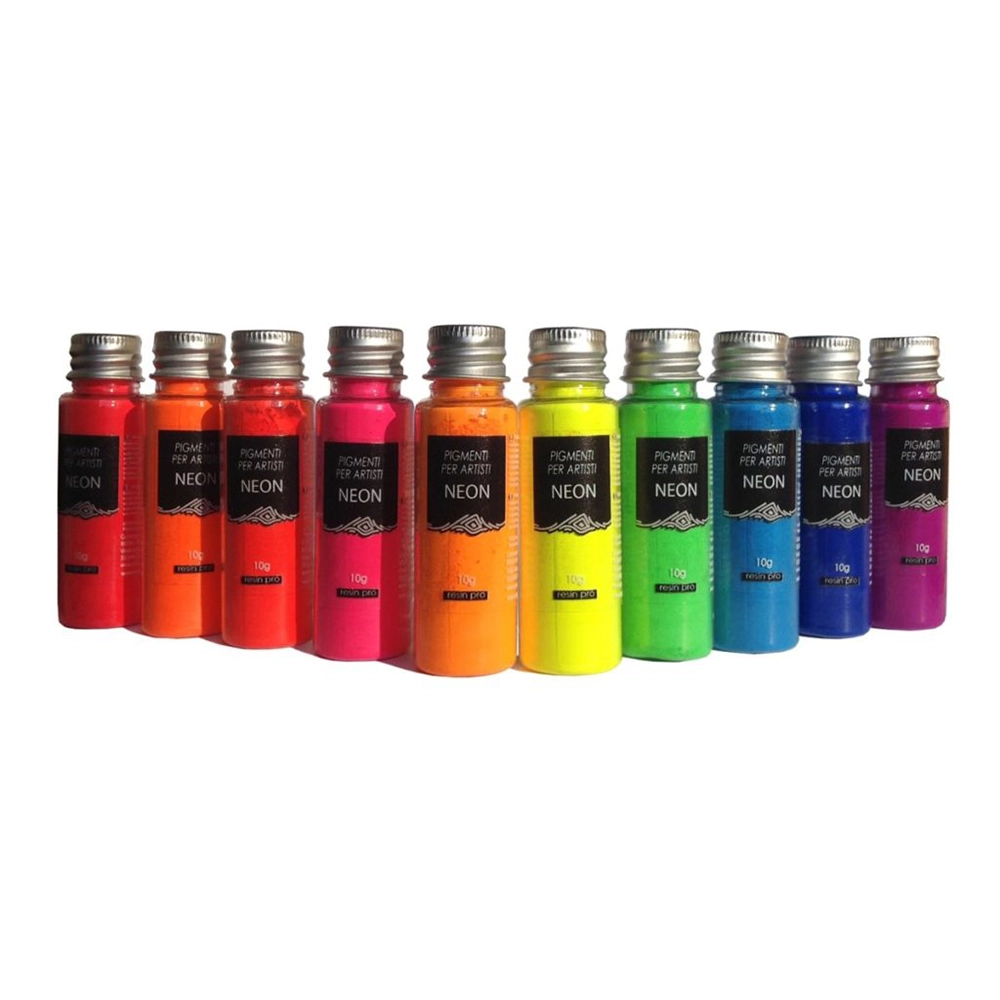
- Sahara turquoise pigment
- Sahara white pigment
- Sahara gray pigment
- white dye
- 99.9% Isopropyl
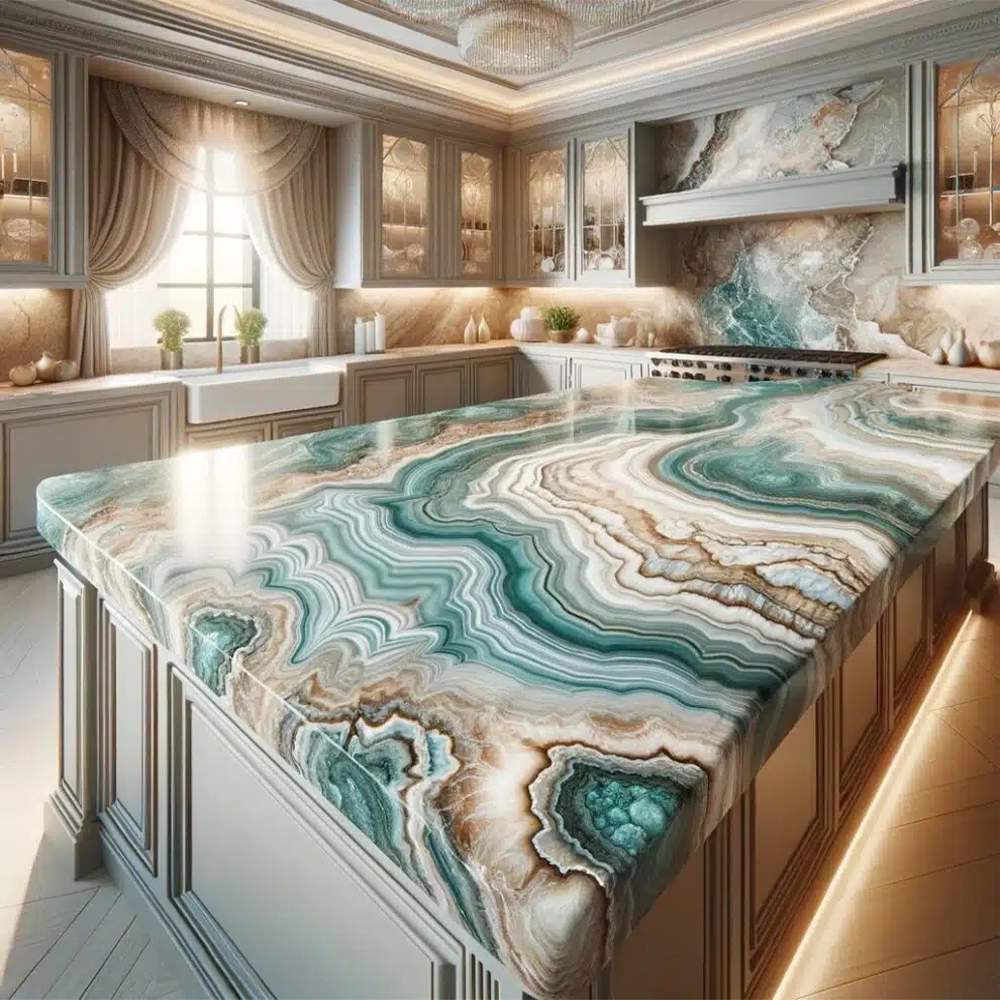
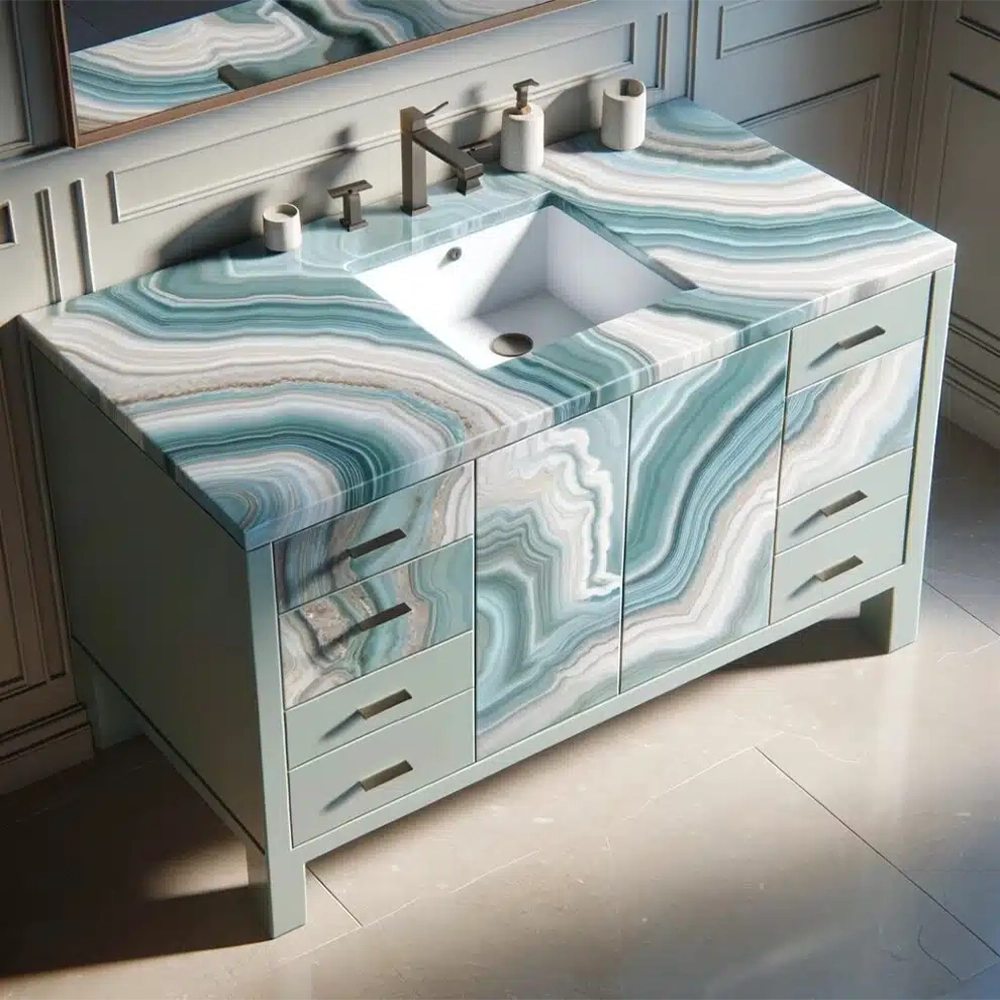
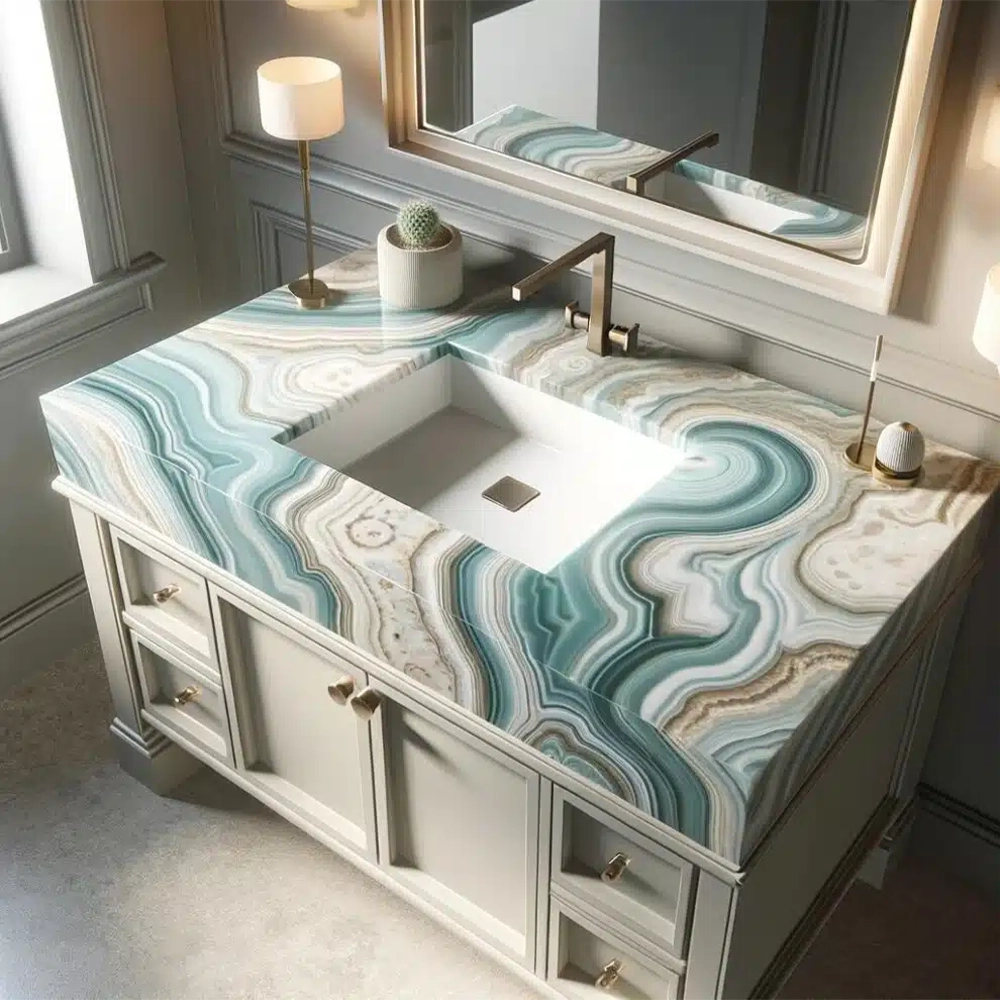
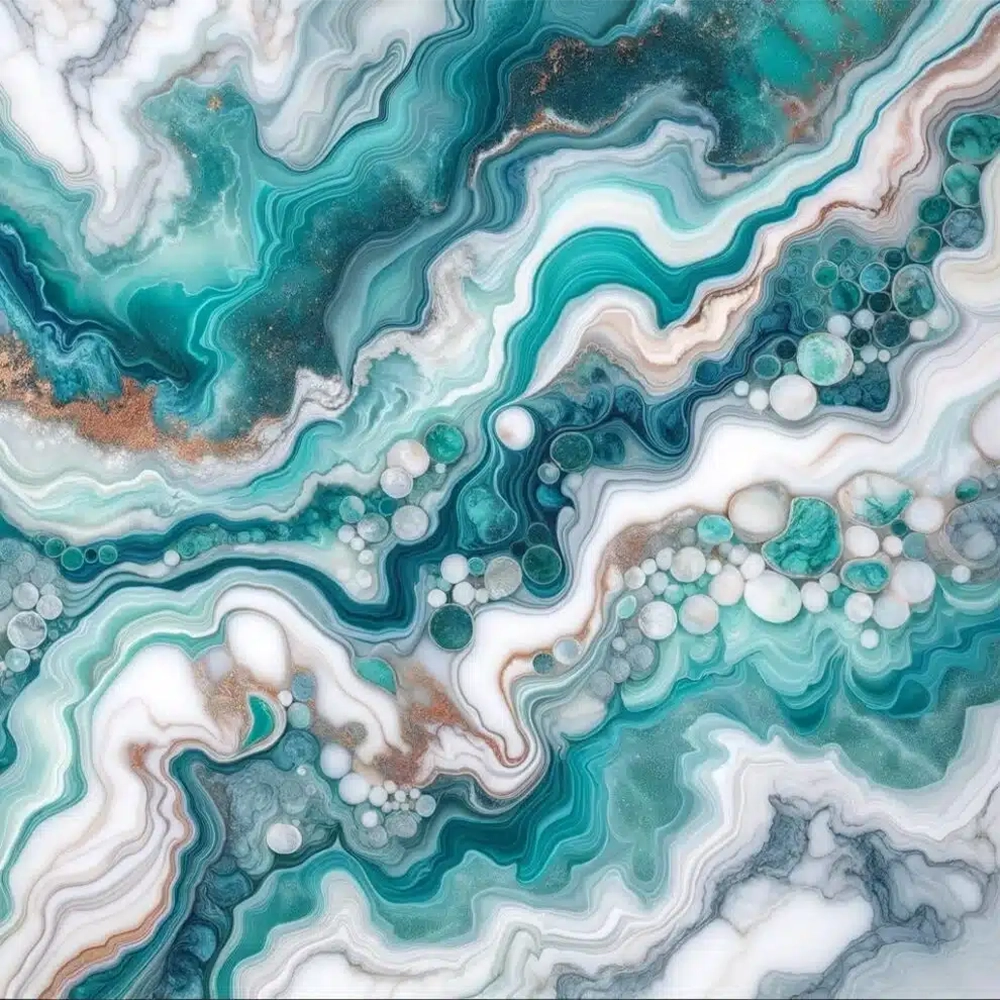
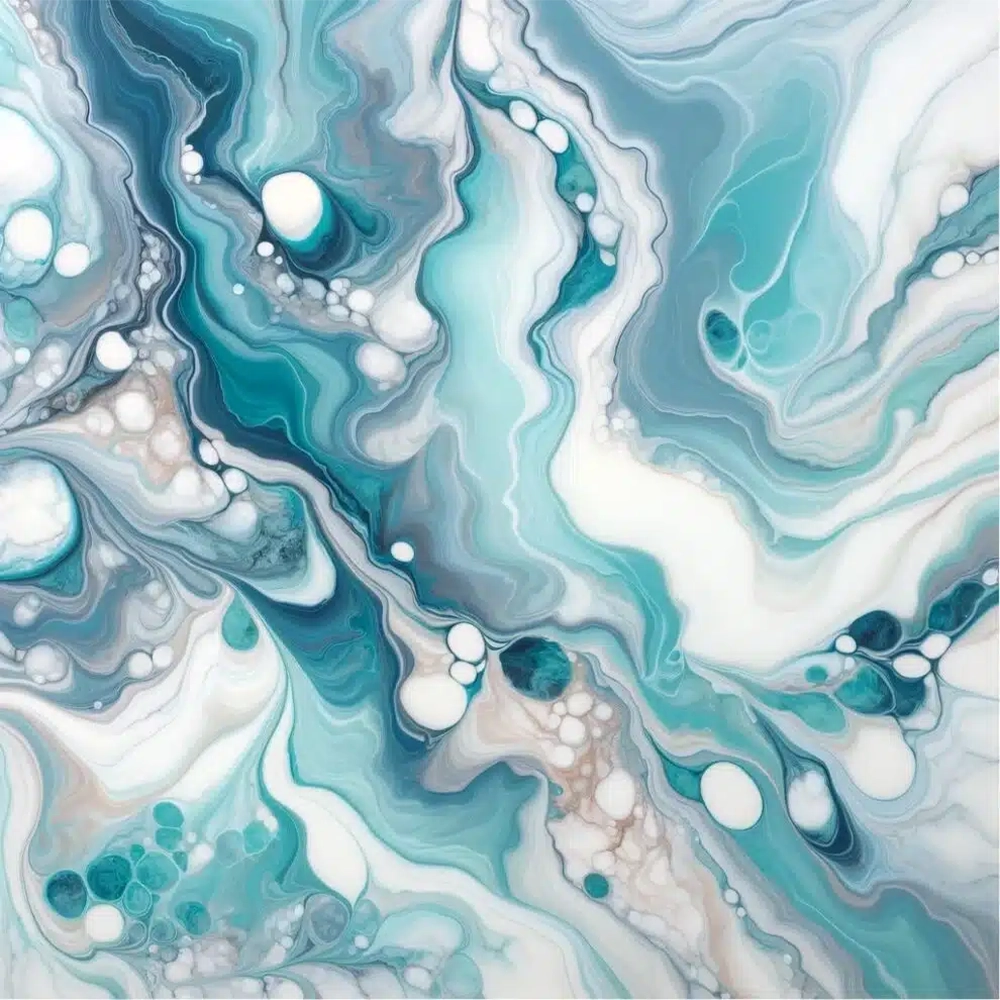
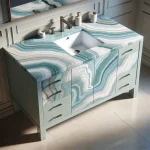
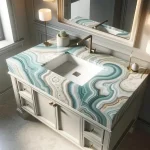
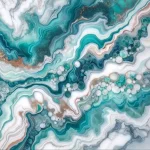
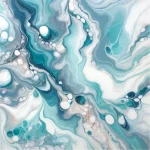
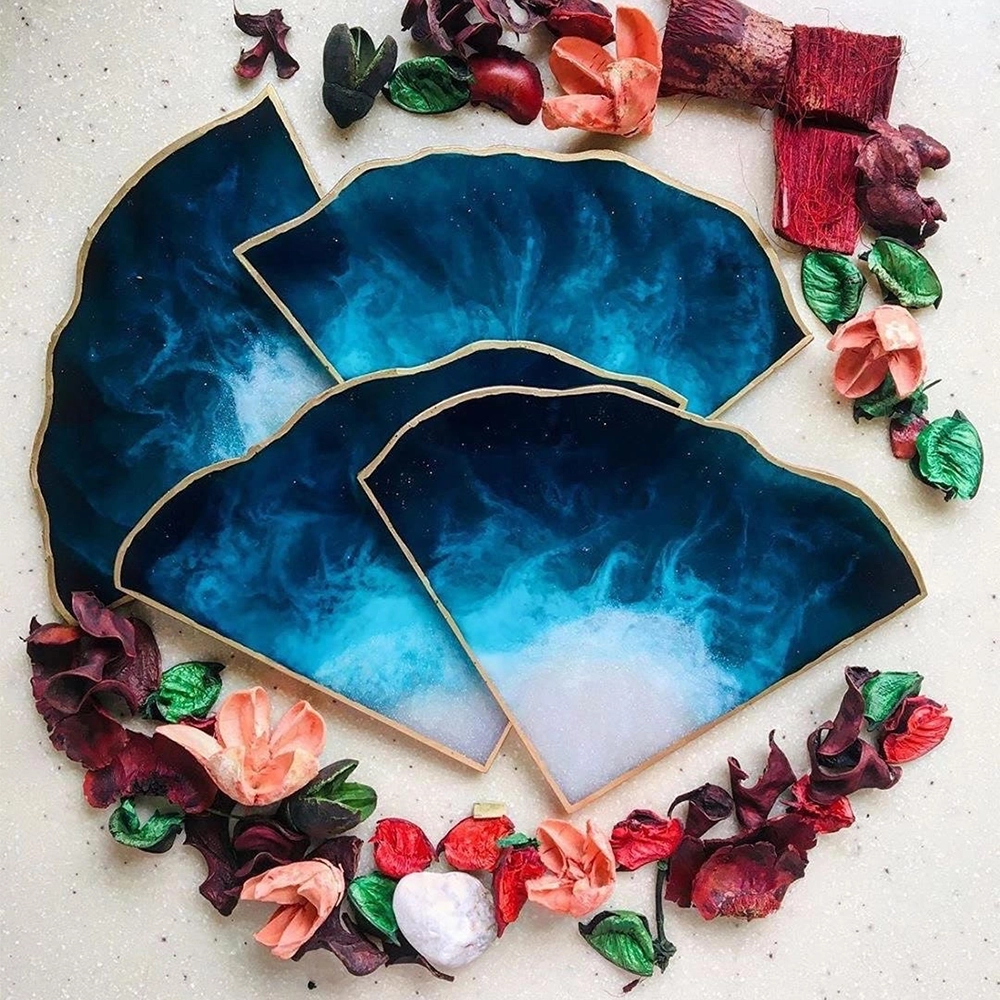
The Amazonite Quartzite Effect Kit for kitchen tops or worktops with epoxy resin represents an innovative solution with a great aesthetic impact for anyone who wants to transform their spaces with a distinctive, high-quality look. Designed to emulate the natural beauty of Amazonite Quartzite, this kit stands out with its vibrant green hues and unique veining, which recreate the luxurious and refined look of real stone in a surprisingly realistic way.
Comprising premium grade epoxy resin, the kit is enriched with special pigments that ensure a smooth finish and vivid colours that won’t fade over time. Its advanced formula provides superior resistance to heat, scratches and water, making it not only an aesthetic but also functional choice for kitchens and bathrooms
Easy to use, the kit includes detailed step-by-step instructions, making it accessible even for those with no previous experience with epoxy resin. Whether you’re a DIY enthusiast or a professional, you’ll be able to achieve amazing results, transforming worktops into lasting works of art.
In addition to the resin and pigments, the kit also offers specially selected tools to facilitate application and achieve a smooth, professional finish. From the application of the resin to the finish, each step has been designed to guarantee a final result that exceeds expectations, offering a resistant surface with a great visual impact.
- Amazonite Quartzite Effect Kit Kitchen top/worktop with epoxy resin
- The 2.49 kg kit (1.66 + 0.83) covers 1 square meter (+ 10 g white Sahara pigment + 10 g turquoise Sahara pigment + 10 g dark gray Sahara pigment + 2*25 ml white dye + Isopropyl al 99.9%)
- The 4.15 kg kit (2*1.66 + 0.83) covers 2 square meters (+ 10 g white Sahara pigment + 2*10 g turquoise Sahara pigment + 10 g dark gray Sahara pigment + 3*25 ml dye white + 99.9% Isopropyl)
- The 8.33 kg kit covers 4 square meters (+ 2*10 g white Sahara pigment + 4*10 g turquoise Sahara pigment + 2*10 g dark gray Sahara pigment + 5*25 ml white dye + 99.9 Isopropyl %)
- The 16.66 kg kit covers 8 square meters (+ 4*10 g white Sahara pigment + 8*10 g turquoise Sahara pigment + 4*10 g dark gray Sahara pigment + 8*25 ml white dye + 99.9 Isopropyl %)
Kit Contents:
- 2.49 kg, 4.15 kg, 8.33 kg or 16.66 kg of Art Coat Epoxy “Art Pro” for a high quality base
- White dye from the “Colorfun” line and Turquoise metallic polarity for the perfect stone shades
- Metallica Sahara pigment white, gray for that extra touch of sparkle
- To enhance the appeal of the design: 99.9% Isopropanol
It is strongly recommended to add:
To make the covering last longer:
- + polishield 100 GLOSS (additional option, not included in the price). 100 g covers 1 M2 + 11.99 eur / 500 g covers 4 M2 + 34.99 eur)
Each kit includes dyes and pigment in sufficient quantity for the amount of resin required.
Guide Instructions:
Step N1: Primer
Start by carefully measuring the amount needed to cover the surface based on the consumption of 150 g/m2, making sure to follow the proportions indicated to obtain a homogeneous mixture. Once the base has been prepared, proceed with adding the dye, choosing between white or black depending on your needs. The quantity of colourant to add to the mixture can be measured in a few drops (max 5% by volume). This step is crucial to achieve the desired colour and ensure uniformity of the application.
Before applying the primer, it is essential that the surface intended for treatment is adequately prepared. Sand the surface with a coarse grit (40 or 60) before any operation. Make sure it’s completely clean, using a soft cloth or brush to remove any pigment, dirt or debris. The surface must also be completely dry; residual humidity can compromise the adhesion of the primer and its effectiveness in sealing the surface. Once the surface is ready, apply the mixture evenly, using a suitable tool such as a brush, roller or spatula, depending on the size of the area to be treated and your personal preference. The key is to get a thin, even layer that can cover the entire area without leaving gaps or excessive product buildup..
After application, it is essential to allow the primer to dry completely before proceeding with further treatments or finishes on the surface. The recommended waiting time is 12 hours; this range may vary slightly depending on environmental conditions, such as humidity and temperature, but offers a good compromise to ensure the mixture has time to dry and adhere properly. During this period, avoid touching or stressing the treated surface to ensure optimal results. Don’t worry if you notice any discrepancies on the surface, the next main pour will level everything perfectly.
Step N2: application
Start by applying masking tape around the perimeter of your countertop to contain the epoxy you’re about to pour. This step is essential to ensure the resin stays where it is needed. After applying the resin, wait about 1.5 hours before gently removing the tape. To ensure coverage is even and complete, plan to use approximately 1.6kg of resin for every square meter of surface area.
When you are ready to mix the resin, use a drill equipped with a paddle mixer for quick and even action (use at low speed), taking about 2 minutes for this operation. If you prefer to mix by hand, be prepared to take double the time. Don’t forget to scrape the sides and bottom of the container halfway through the process with a stick to ensure all the material is mixed well. Next, separate the already mixed resin into different glasses and add the desired colours, mixing the different colours in the different glasses until you obtain an intense and uniform colour per single glass.
To create a striking visual effect, pour the coloured resin in random layers into a larger bucket, being careful not to mix the colours together too much. After filling the bucket, spread the contents over the surface of the worktop, leaving a small amount of resin aside to finish the edges later. To remove trapped air bubbles, gently run a propane torch or heat gun over the surface.
Once the adhesive tapes have been removed, approximately 1.5 hours after application, if there are any dry edges, moisten them slightly by wearing a protective glove to promote an even appearance. Use appropriate tools, such as spatulas or plastic scrapers, to spread and level the resin along the edges, making sure to cover the entire area well. After letting the resin cure for 24 hours, you can apply a clear top coat or PoliShield scratch-resistant paint to further protect the surface.
Finally, for even more refined visual effects, spray 99.9% isopropyl alcohol onto the surface just before the resin begins to fully harden. This will create unique lacy textures. Remember that when you remove the tape, it is essential that the resin is partially hardened, neither too liquid nor completely solid, to avoid unwanted drips.


















Reviews
Clear filtersThere are no reviews yet.